
How to customize invitation emails
Personalize the invitation emails you send to customers when requesting testimonials. Forms 2.0 lets you save custom email templates, while Classic Forms let you customize emails each time you send invites.
For Forms 2.0 (saved templates)
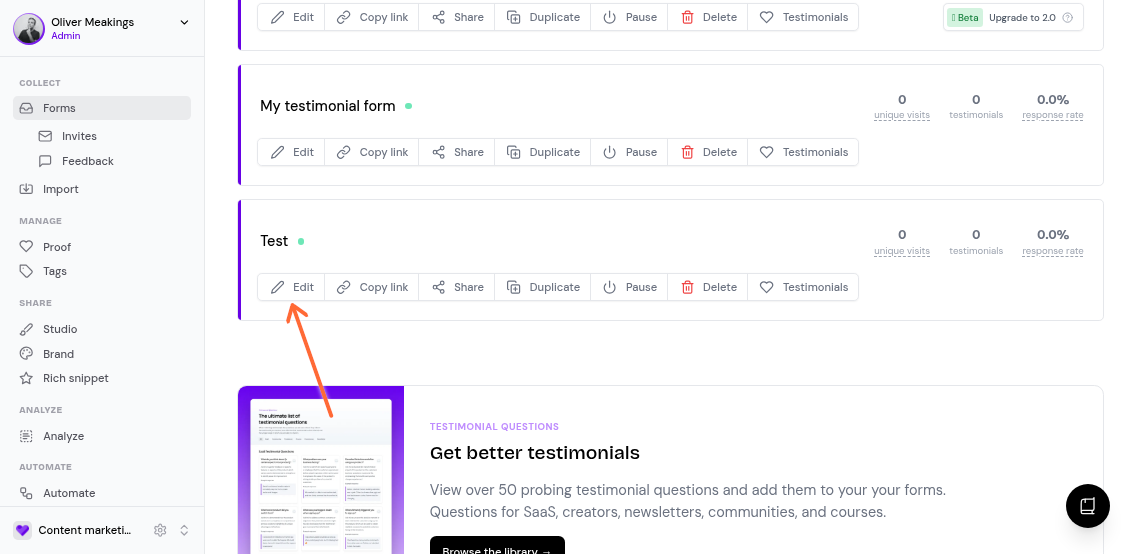
Go to your Forms page and click Edit on the Forms 2.0 form you want to customize
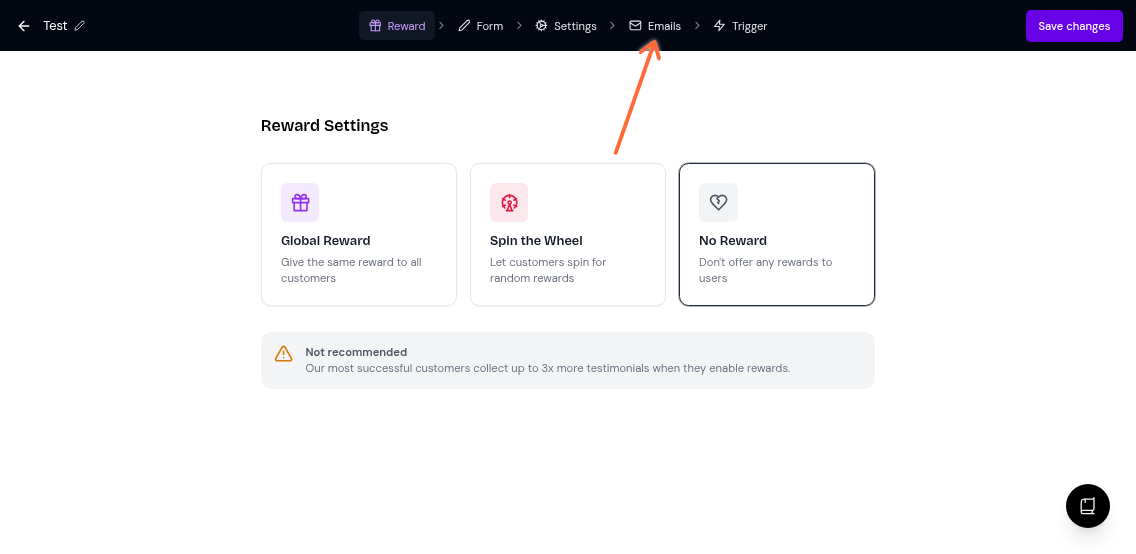
Click the Emails tab in the top navigation
Select the Invite email subtab
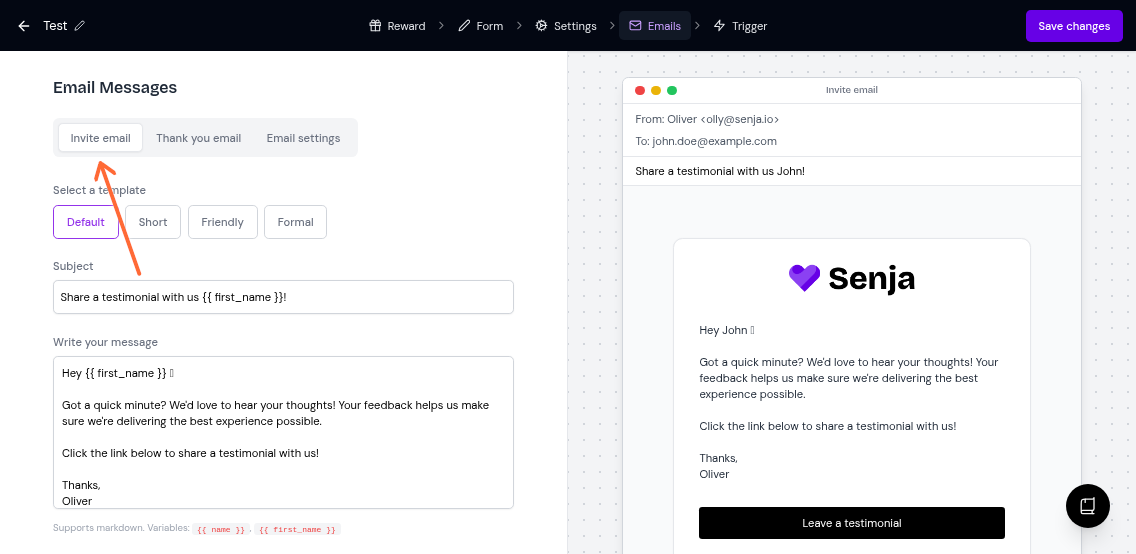
Click one of the template buttons (Default, Short, Friendly, or Formal) to pre-fill your email, or start from scratch
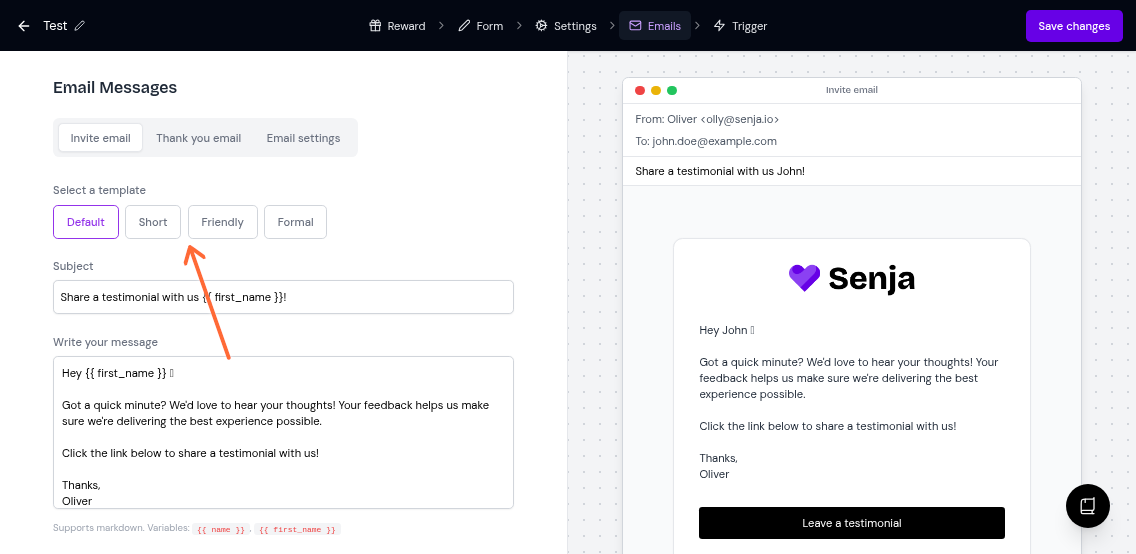
You can customize:
Subject: The email subject line (supports variables like
{{ first_name }})Write your message: Your main email content (supports markdown and variables like
{{ name }})Call to action: The button text in the email
Automatically follow up: Toggle to send reminder emails at 1, 3, and 7 days
Click Save changes in the top right when you're done.
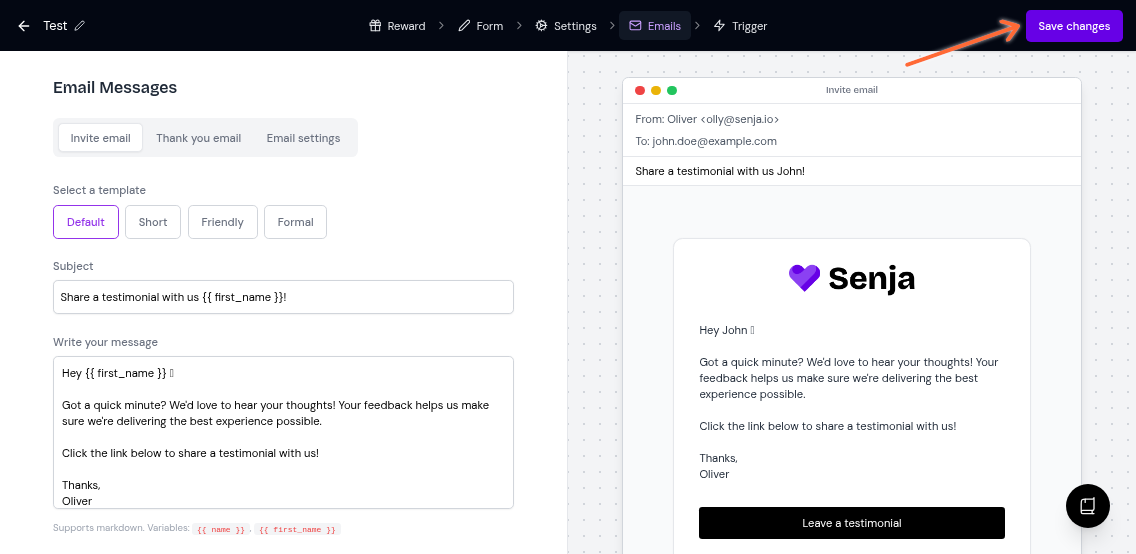
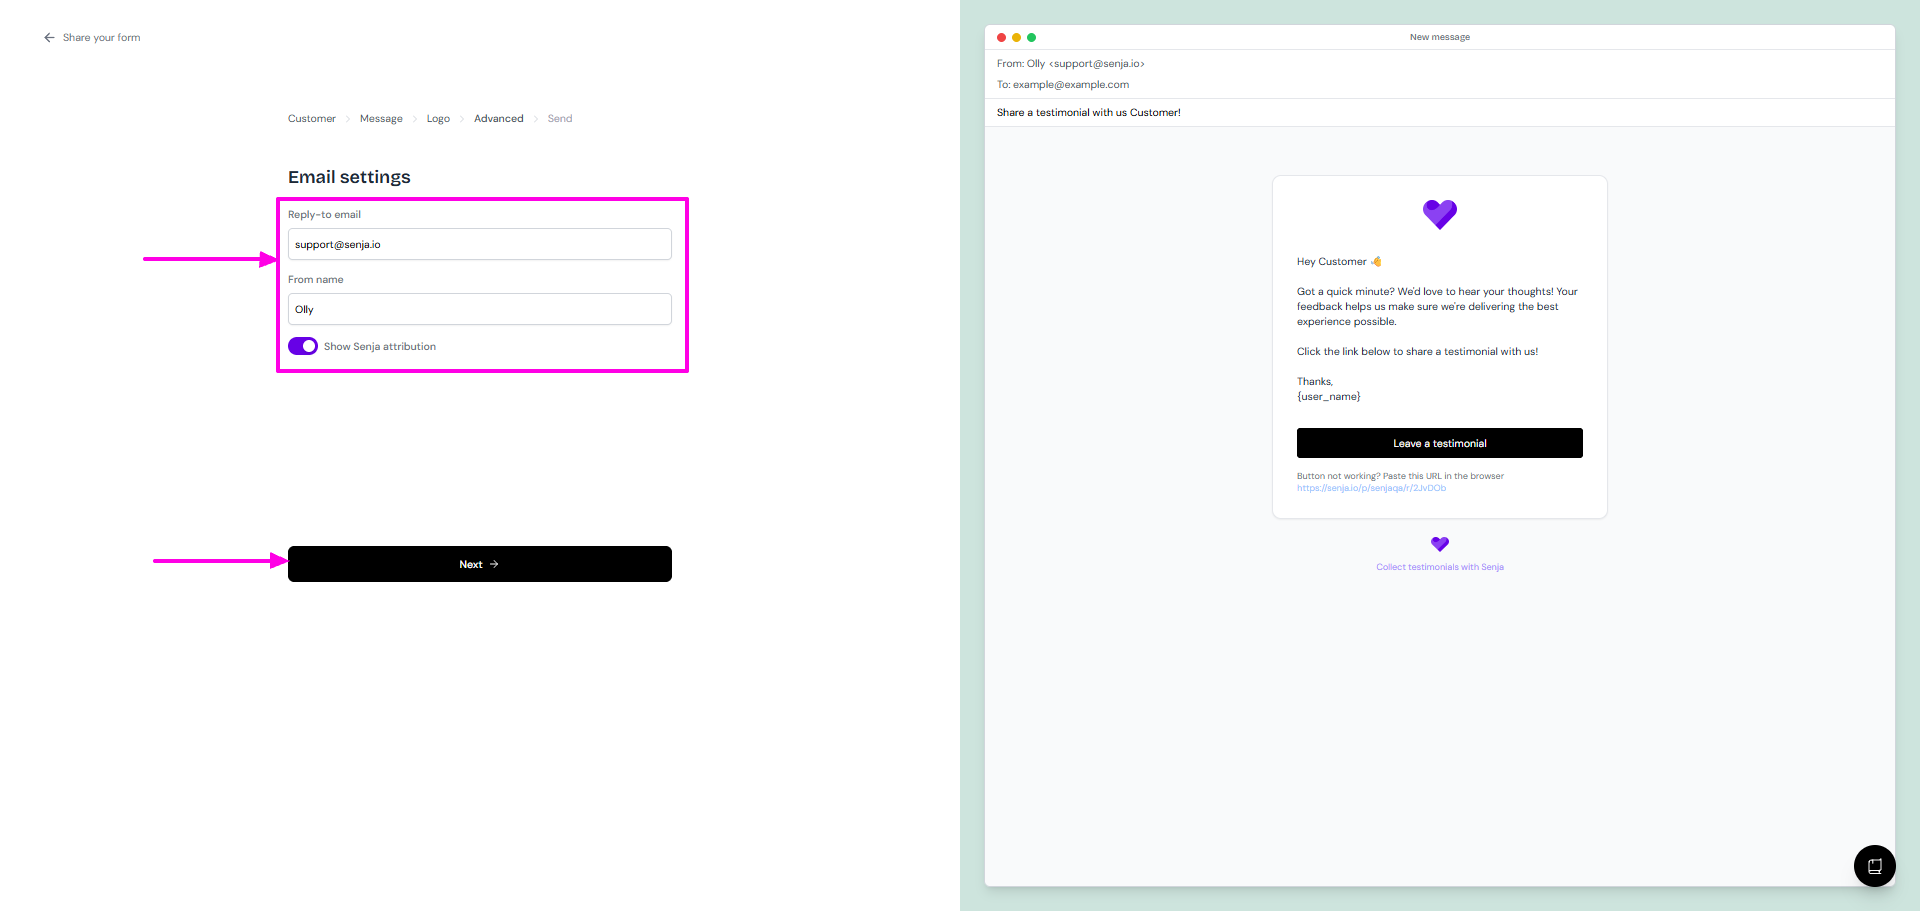
You can also customize your sender name, reply-to email, and logo in the Email settings subtab.
For Classic Forms (per-campaign customization)
Classic Forms don't have saved email templates in the form editor, but you can customize invitation emails each time you send them.
Right after creating a form
Click Save changes
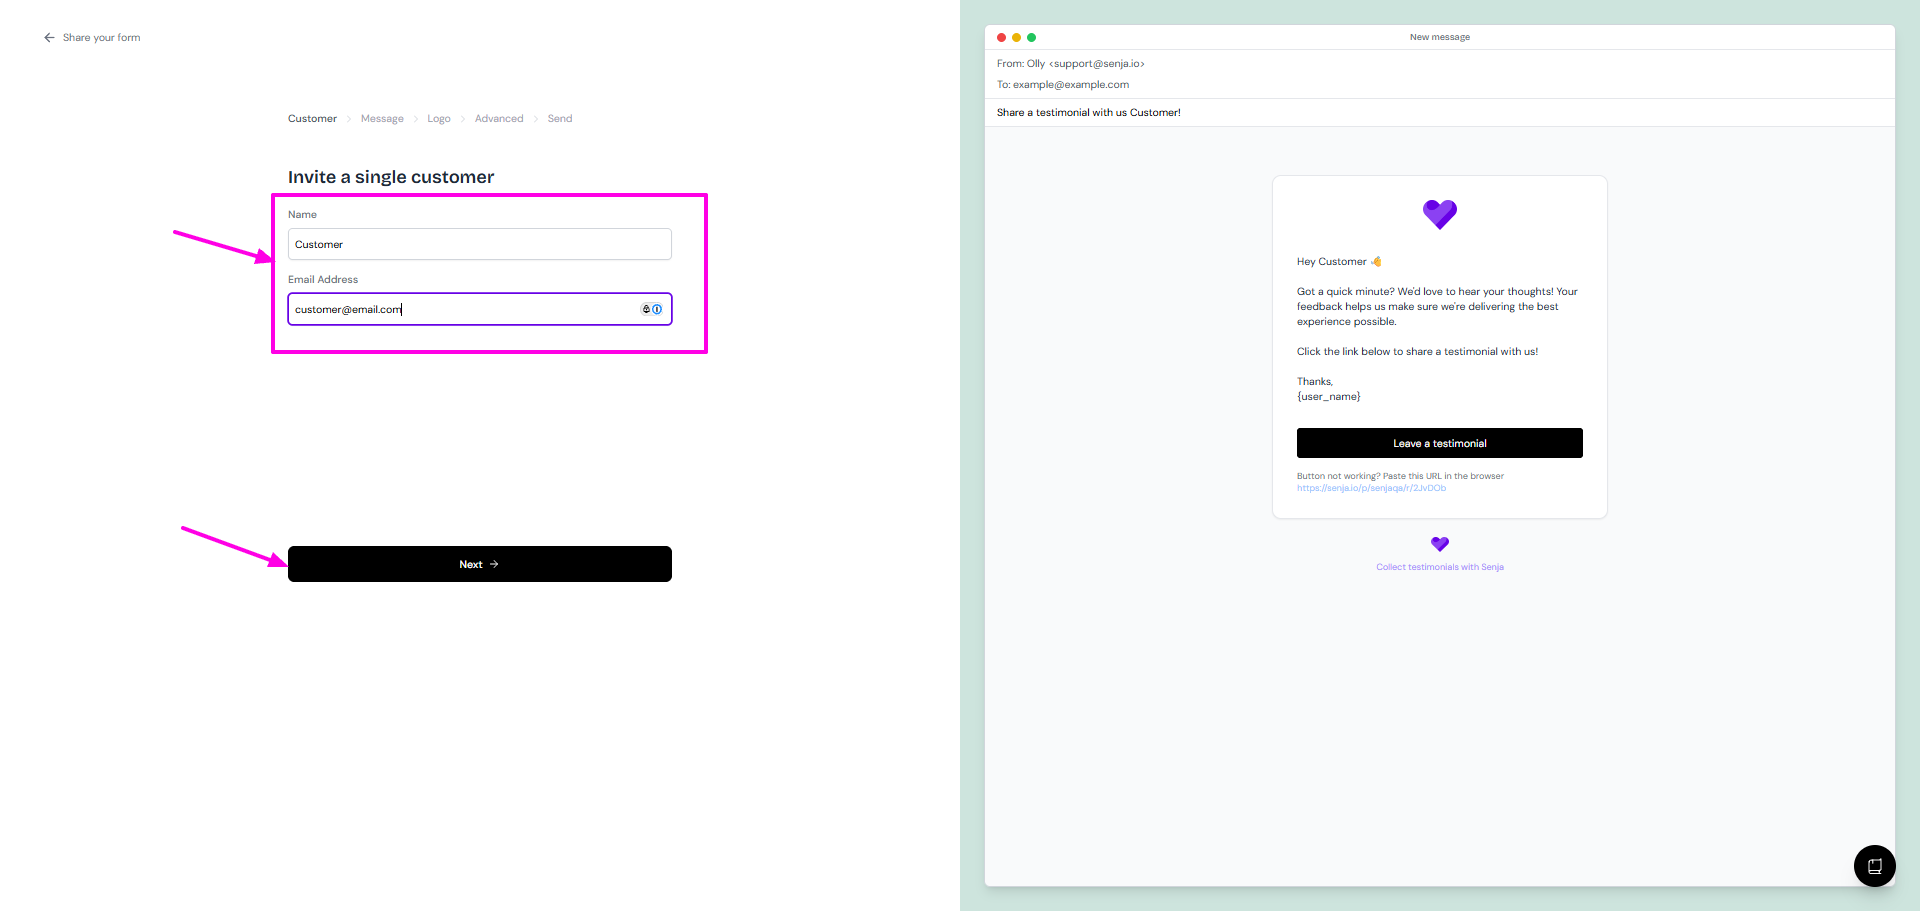
Share your form screen will appear
Choose the options from Invite your customers, for example, we choose Invite using email to send to 1 person only
Complete the info in Customer tab, click Next when done
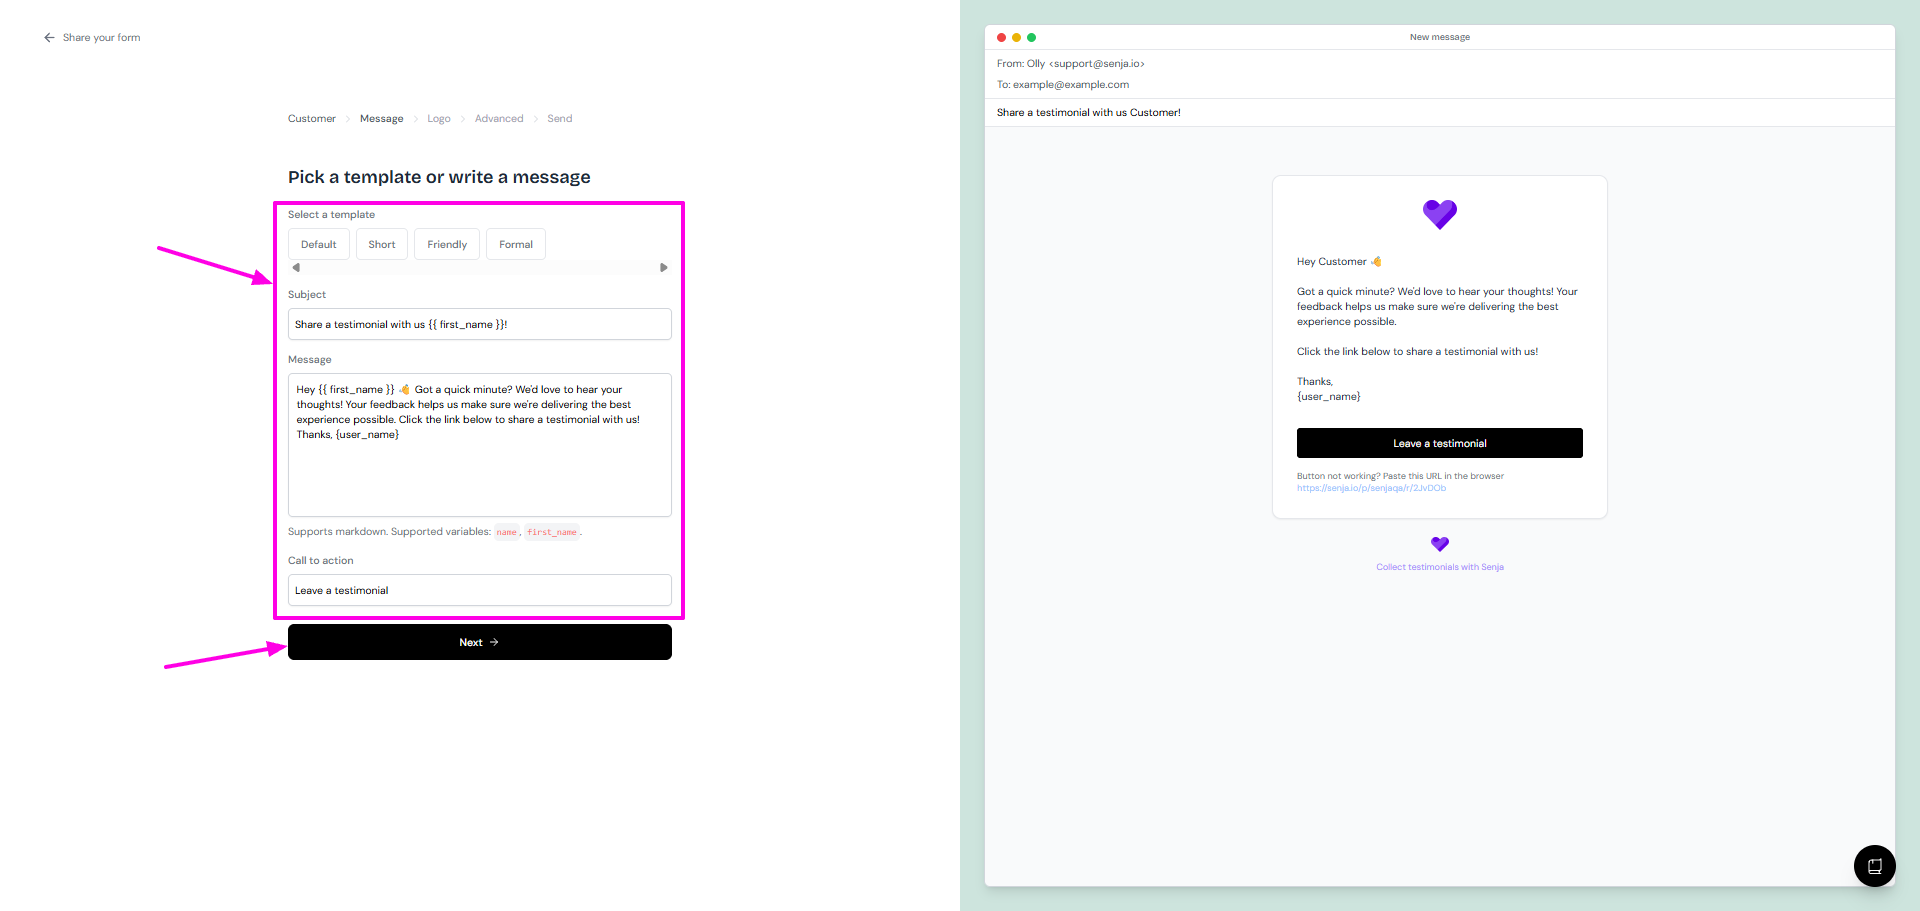
Update the email Message as you wish, click Next when done
Select a template (Default, Short, Friendly, or Formal)
Edit the Subject line with variables like
{{ first_name }}Edit the Message using rich text or markdown with variables
Customize the CTA button text
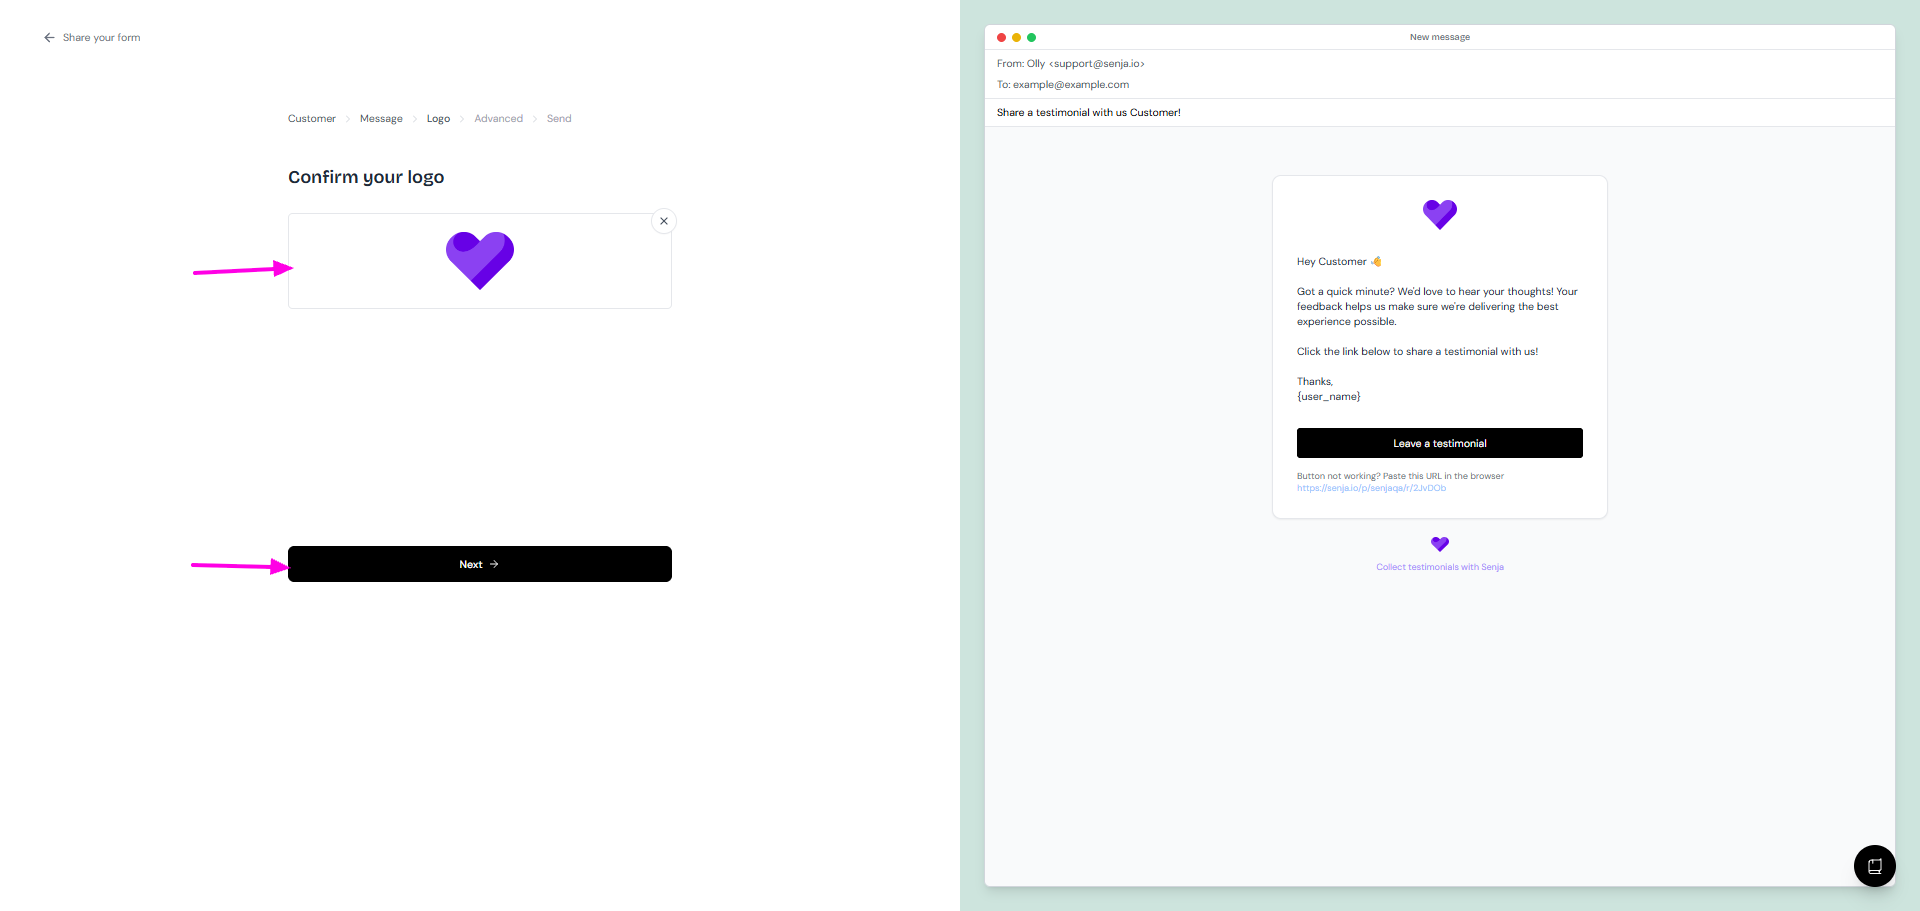
Update the Logo, click Next
Update the Email settings in the Advanced subtab, click Next when done
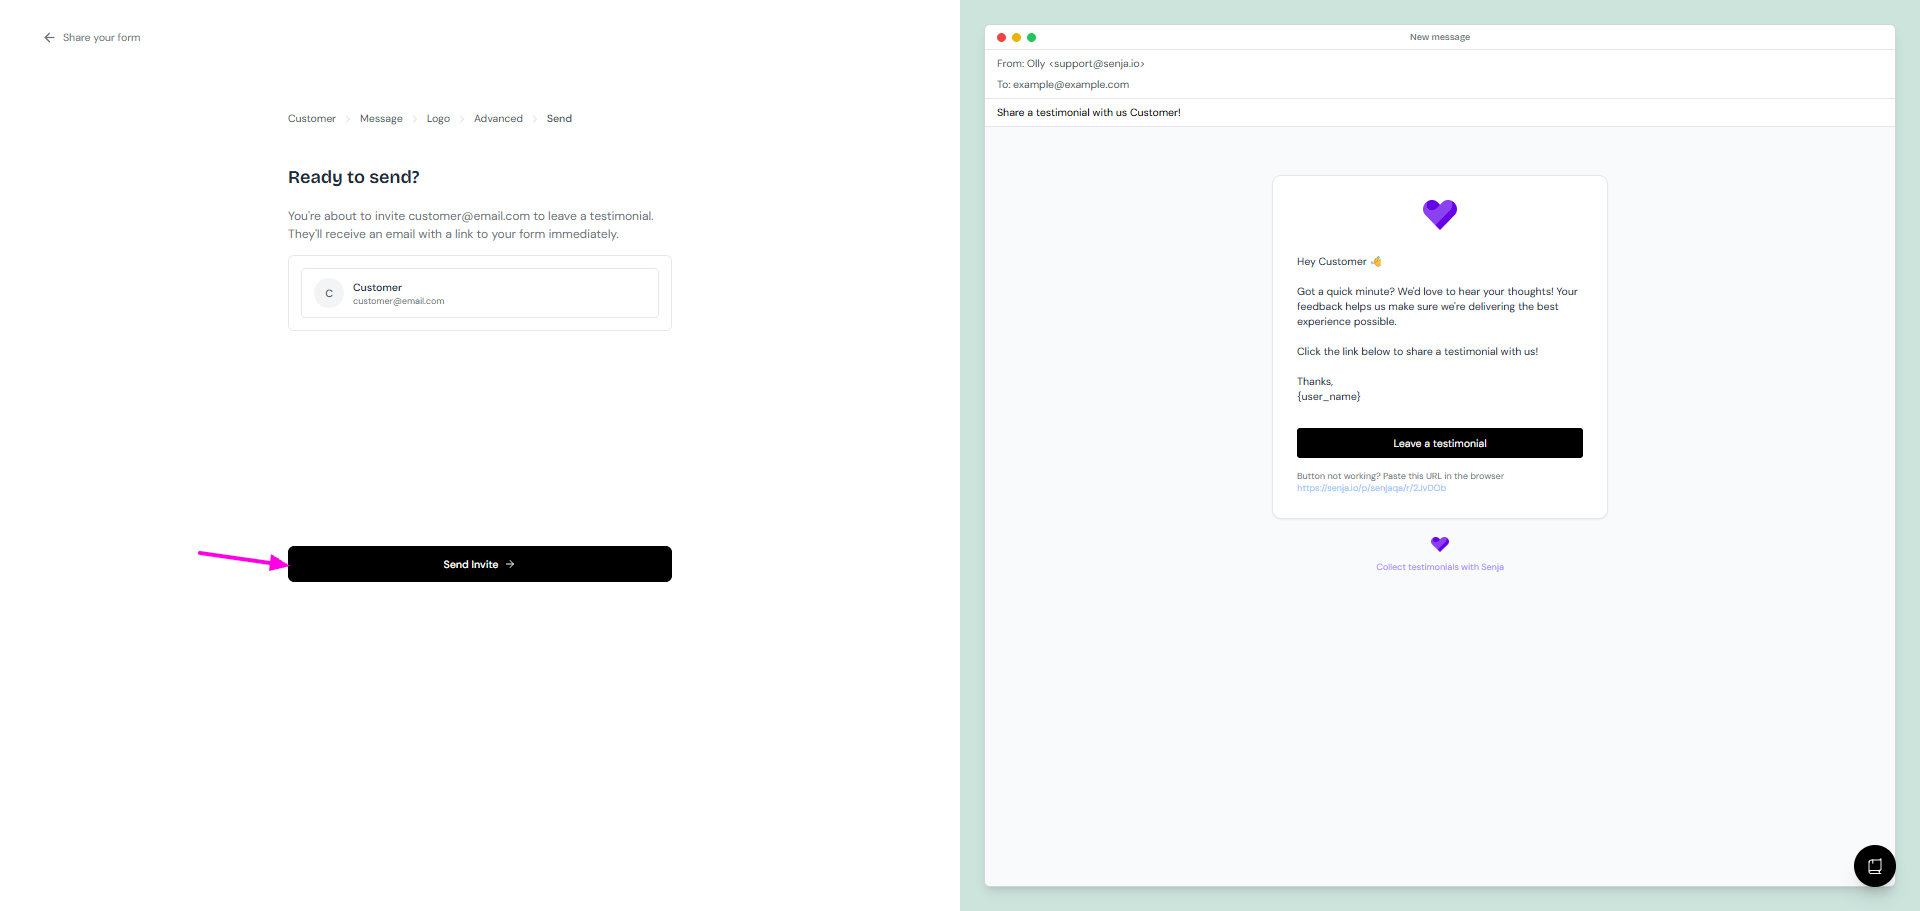
Click Send Invite
Send an existing form
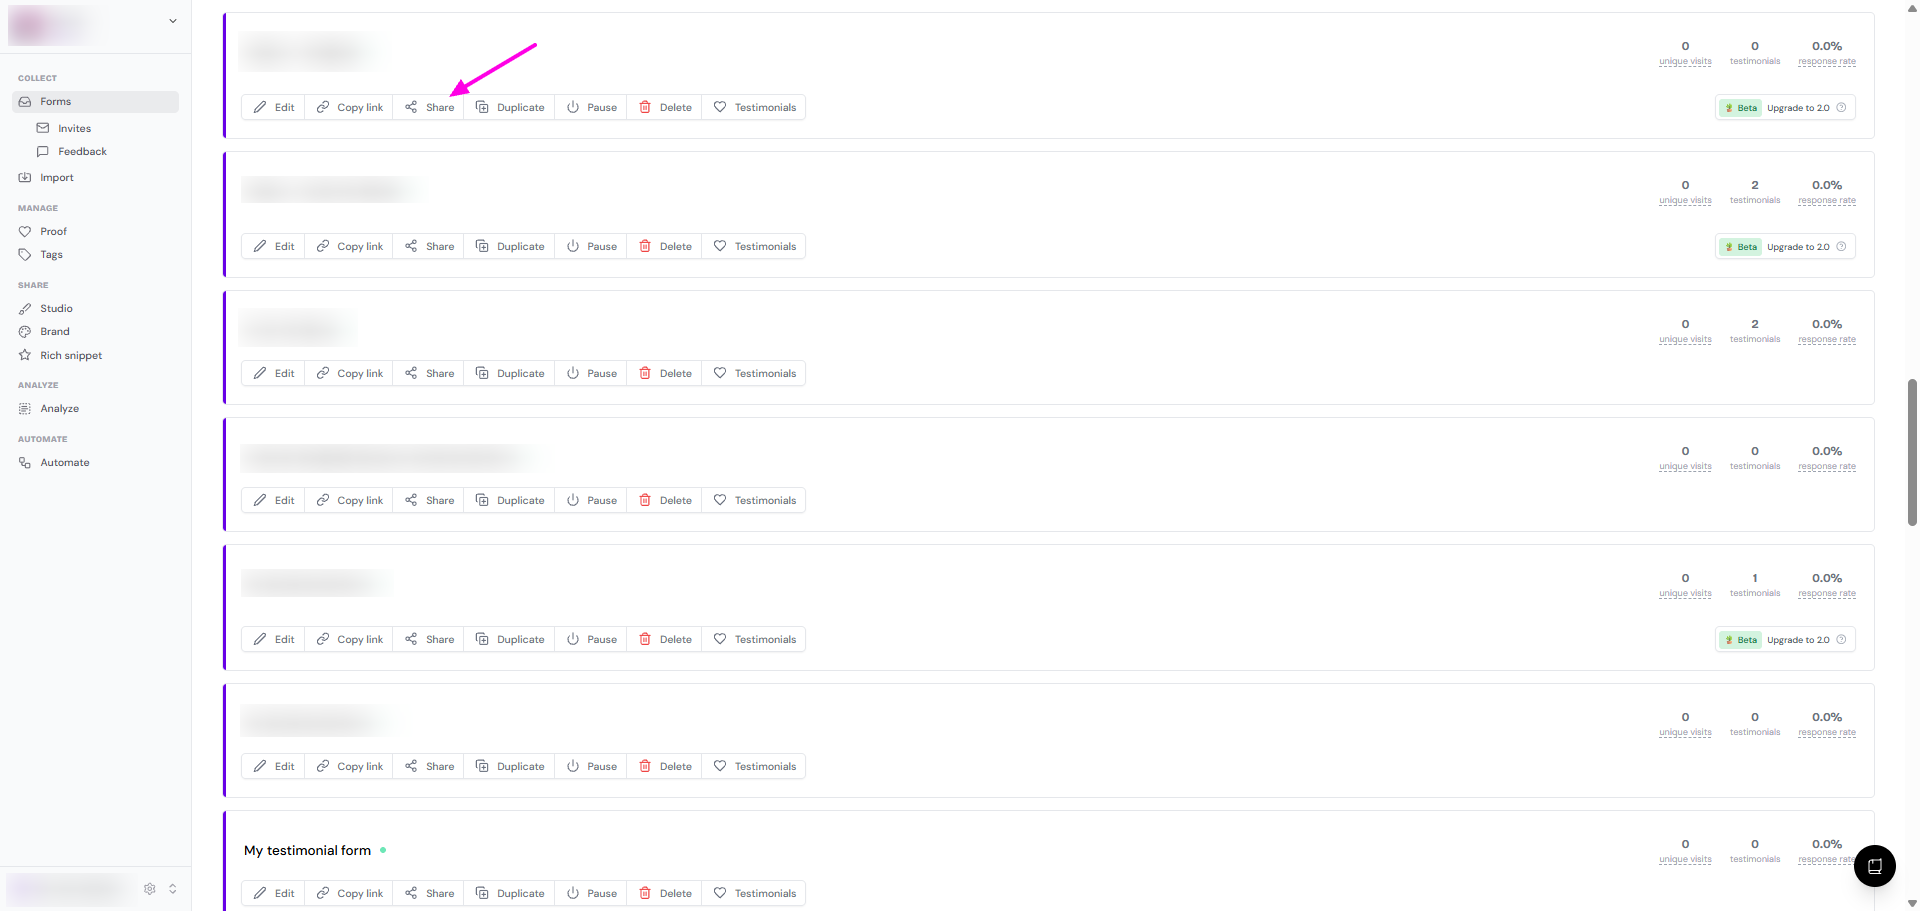
Go to your Forms page:
Click Share on the form that you want
Follow the same steps as above
For Classic Forms, email customization applies only to that specific campaign. To save permanent email templates, upgrade to Forms 2.0.
For more details on sending invites, see How do I use form invites?