Adding testimonials to your React or NextJS app is extremely simple and requires no external dependencies. Here’s how to do it in just a few steps:

1. Click on Studio

Click on Studio

2. Select a widget style under Widgets

Pick the testimonial widget style you want to create. You can always change it later.

Select a widget style under Widgets

3. Name your widget

Here we've called it Best testimonials

Name your widget

4. Select where you want to embed the widget

This will help you find it later

Select where you want to embed the widget

5. Click on Create widget

Let's start creating the widget

Click on Create widget

6. Decide what testimonials you want to add

You can set rules so that any new approved testimonials are automatically added to the widget, or curate. Here, we selected curate as we will manually select the testimonials to add to the widget.

Decide what testimonials you want to add

7. Click on Continue

Click on Continue

8. Start selecting your testimonials

Here's the first one. Select as many as you want to display.

Start selecting your testimonials

9. Click on Save Selection

Once you're happy with the selection, click on Save Selection

Click on Save Selection

10. Click on Design

Here's your widget. Let's update its design - simplyu c

Click on Design

ℹ️ There are lots of design settings and they vary by widget. Make your design changes here until you are happy with the widget.


11. Click on Share

I'm happy with the design changes, so now it's time to share the widget. Click on Share.

Click on Share

12. Click on the copy icon

This will copy the widget code for use on any landing page tool

Click on the copy icon

13. Click on Done

The code is copied and you're read to navigate to your landing page tool

Click on Done

Want a faster way to copy your widget code? Use Senja’s Chrome Extension ✨

Senja’s free Chrome Extension allows you to copy your widget code and form URLs, and see all your latest testimonials, all without leaving the page you’re on. Download it free here

Add the embed code to your React app

Open the React component, you’d like to add your Senja widget to.

Paste the Senja embed code:

<div>
  <div
    class="senja-embed"
    data-id="4ac65b64-922c-4daf-af40-5cf71ade893f"
    data-lazyload="false"
  ></div>
  <script
    async
    type="text/javascript"
    src="https://static.senja.io/dist/platform.js"
  ></script>
</div>

Alternatively, add the <script> portion of the Senja embed code just before the end of your <head> or <body> tag of your React website.

<head> 
	... 
  <script
    async
    type="text/javascript"
    src="https://static.senja.io/dist/platform.js"
  ></script>
</head>

And embed the <div> portion in any React component.

Add the embed code to your NextJS app

Open the +page.tsx file, or page.jsx file you’d like to add your Senja widget to.

Paste the Senja embed code:

// import this:
import Script from "next/script";

export default function SenjaPage() {
  return (
    <main>
      <div
        className="senja-embed"
        data-id="4ac65b64-922c-4daf-af40-5cf71ade893f"
        data-lazyload="false"
        data-mode="shadow"
      ></div>
			{/* This changed from <script> to <Script> */}
      <Script
        async
        type="text/javascript"
        src="https://static.senja.io/dist/platform.js"
      ></Script>
    </main>
  );
}

If you’re using NextJS, Don’t use the default <script> tag! To prevent hydration errors, replace the script tag with the next/script component.

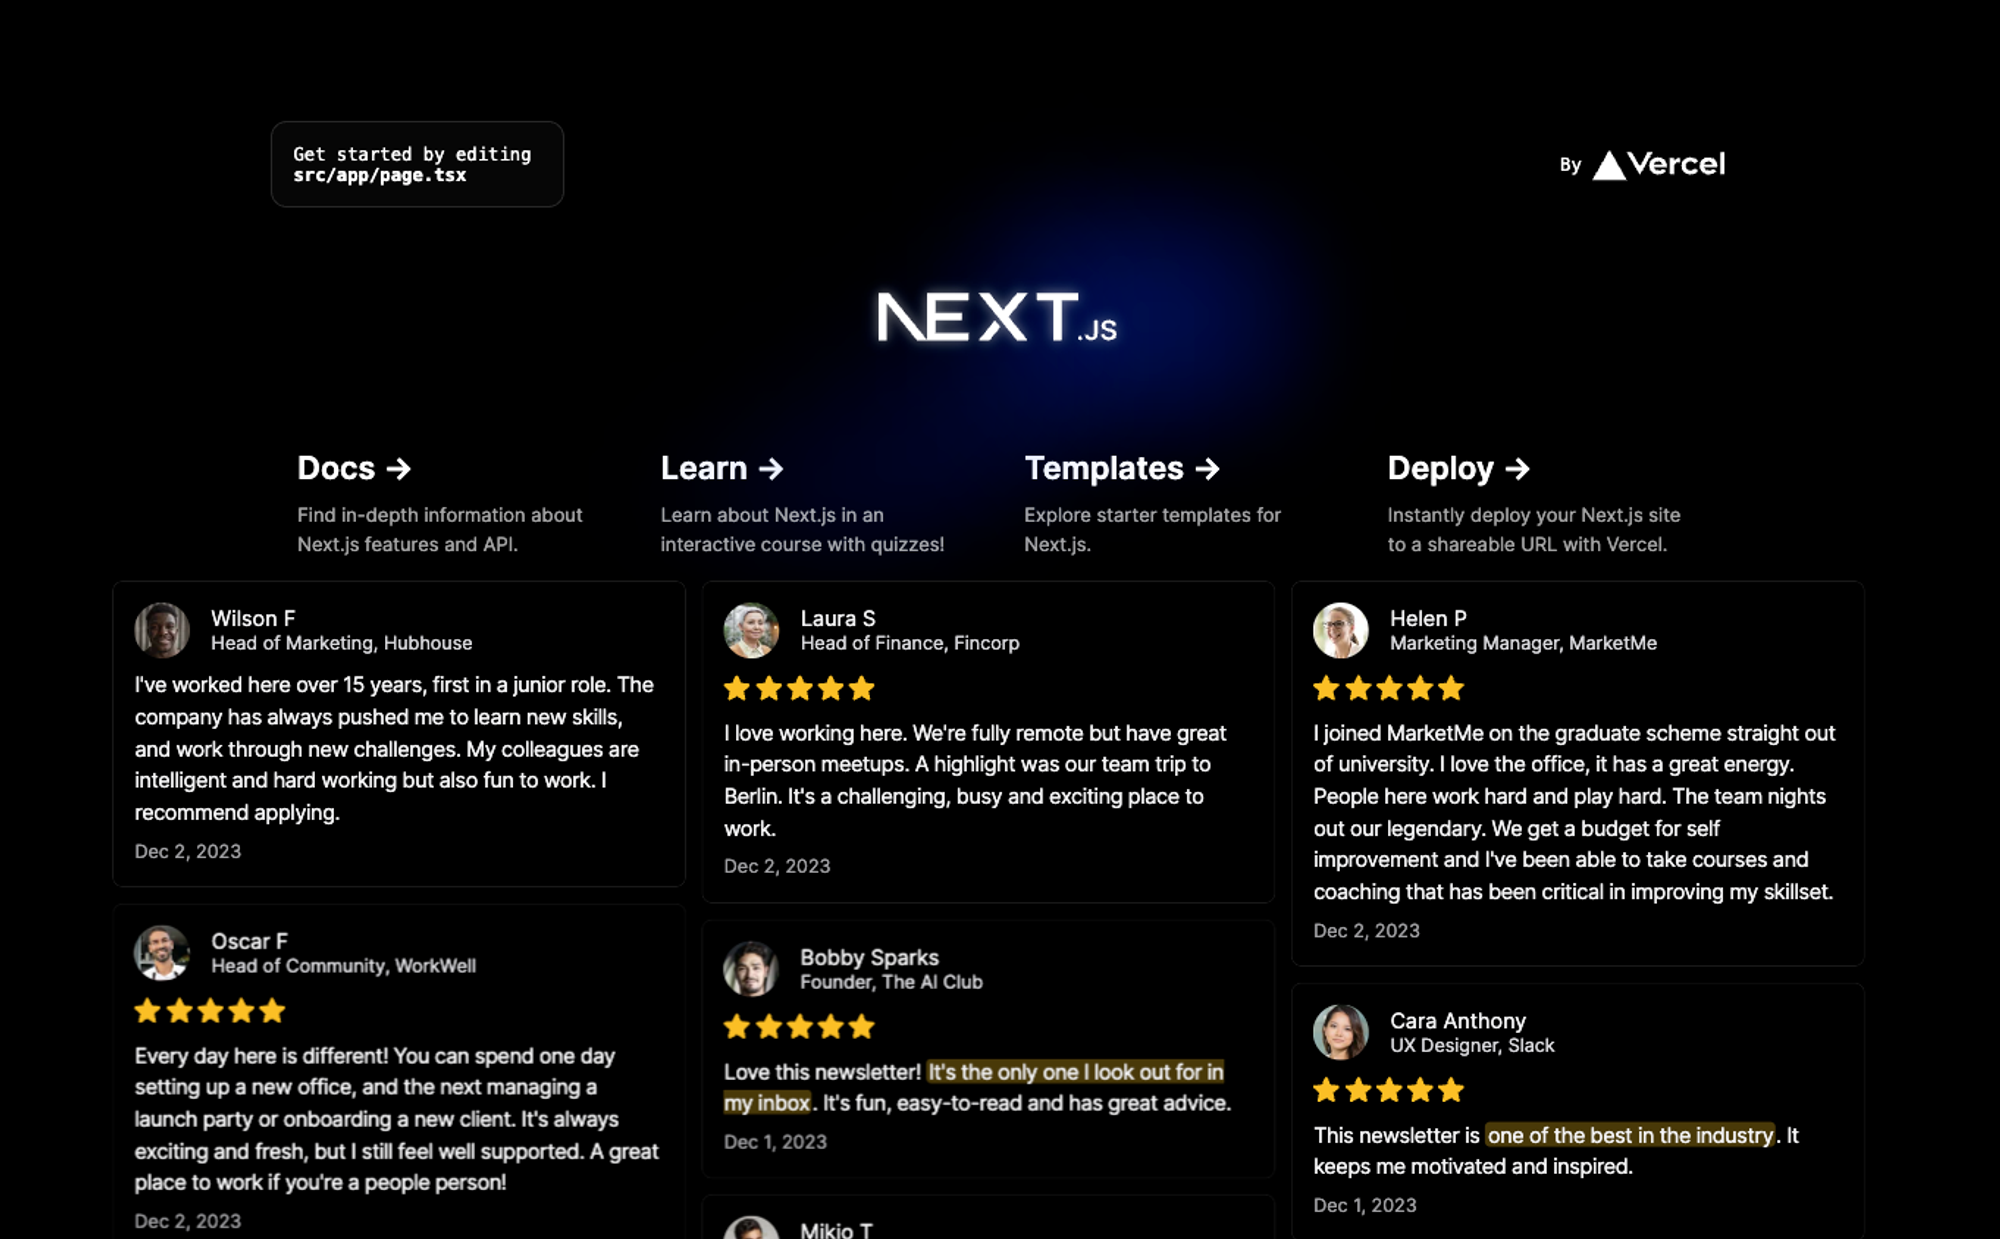
Once you do this, your Senja widget will be rendered on the page, like this:

That’s it, your testimonial widget is now embedded in your React app! Not working? Just click Contact Us below and we’ll assist you.

How to add your testimonials to other platforms

Other landing page platforms

Course platforms

Creator marketplace platforms

Calendar tools

Sales tools and emails

To your code

Ecommerce platforms

Emails

Did this answer your question?