
How to add testimonial widget to Kit landing page
You can add widgets to Kit landing pages using the Senja code snippet.
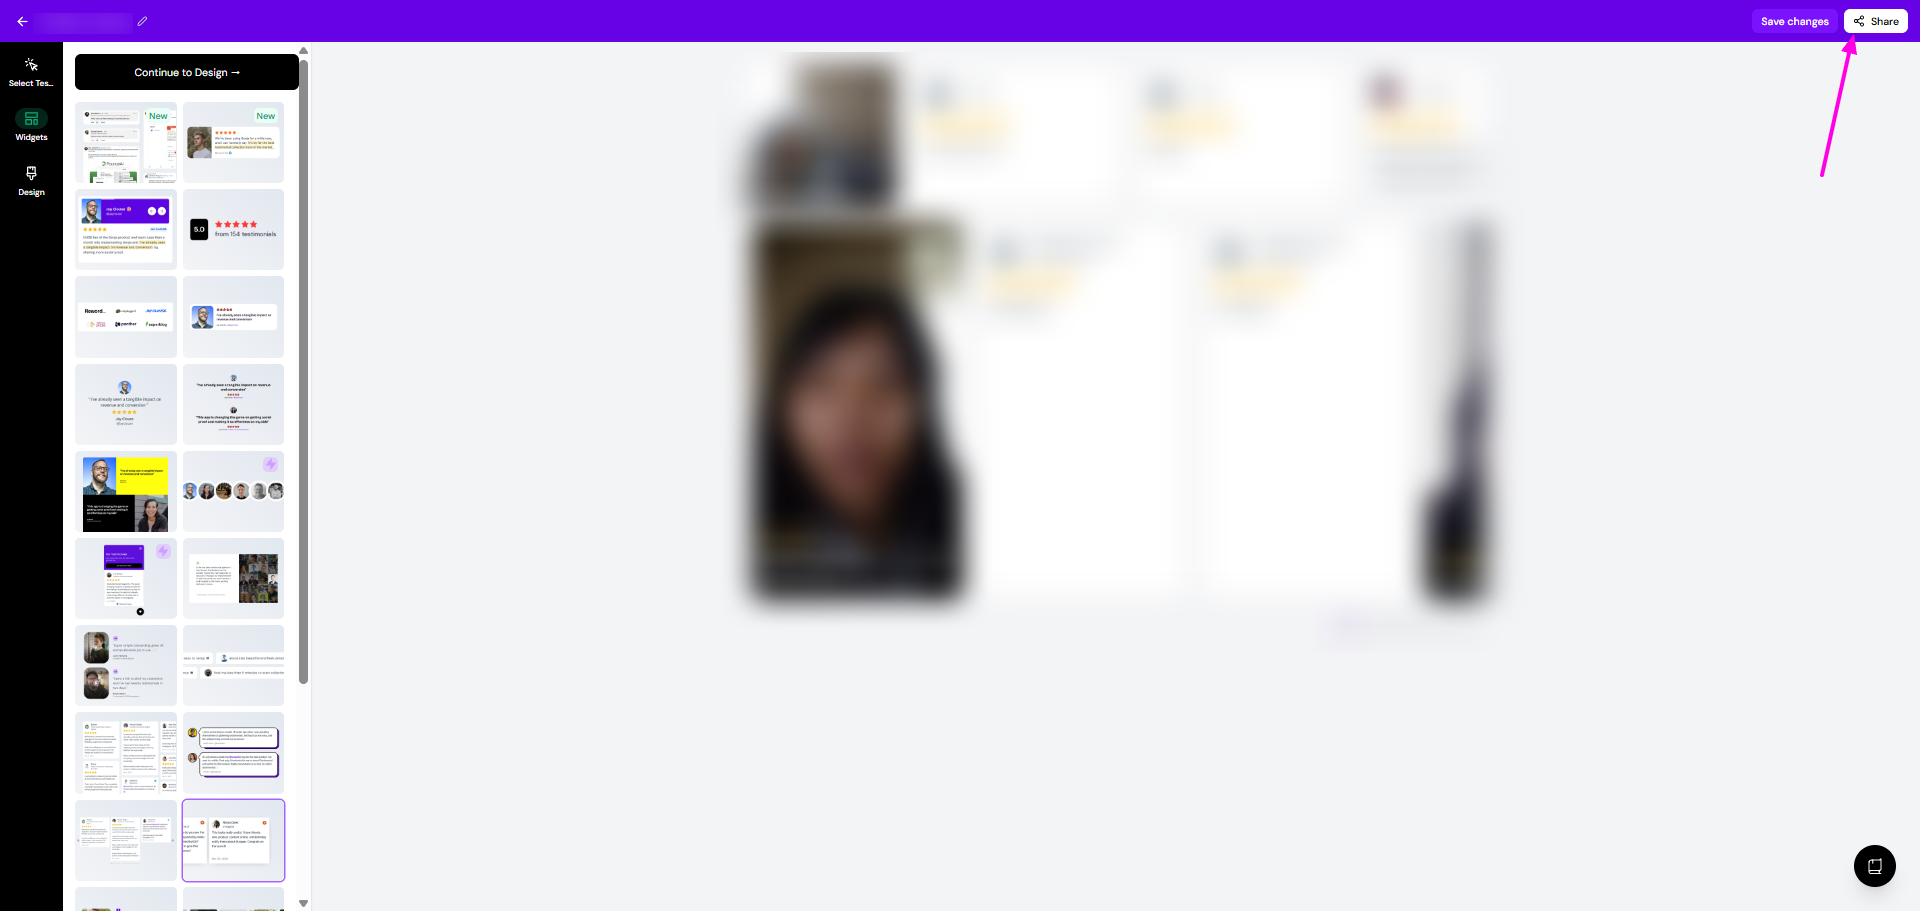
In Senja
Go to your Studio page
Open the widget that you want to add to your Kit landing page
Click Share
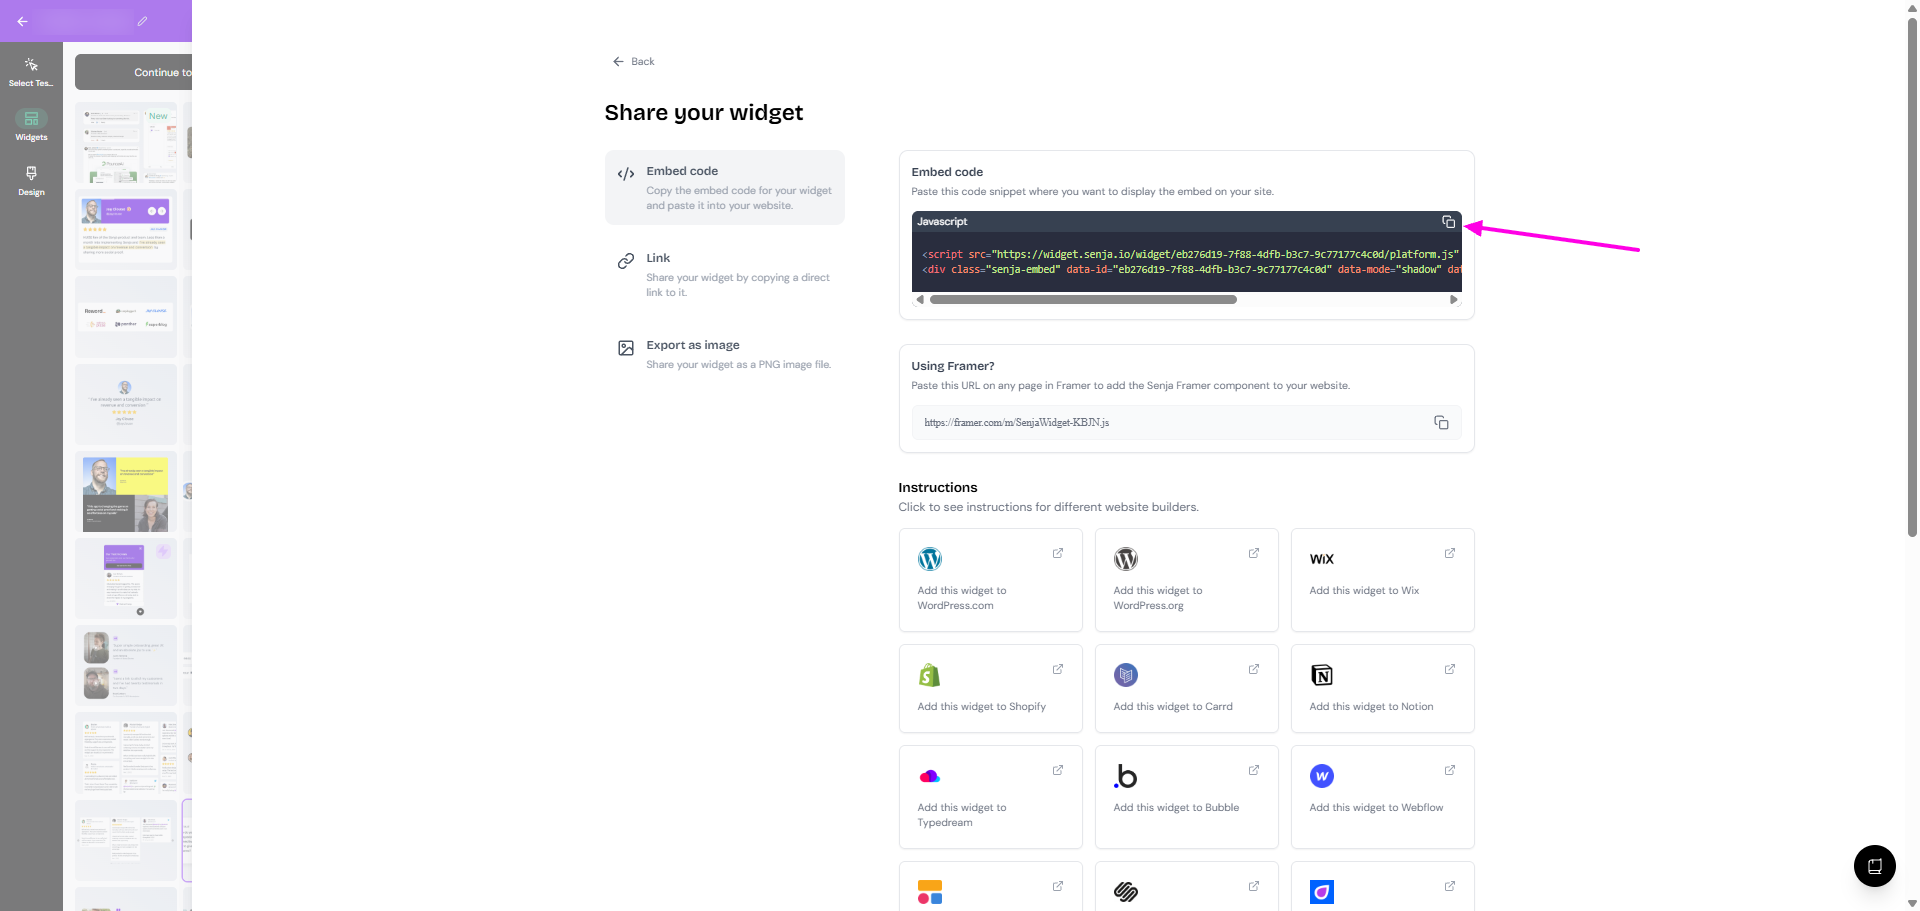
Click the copy icon under Embed code
Adding the widget to your Kit dashboard
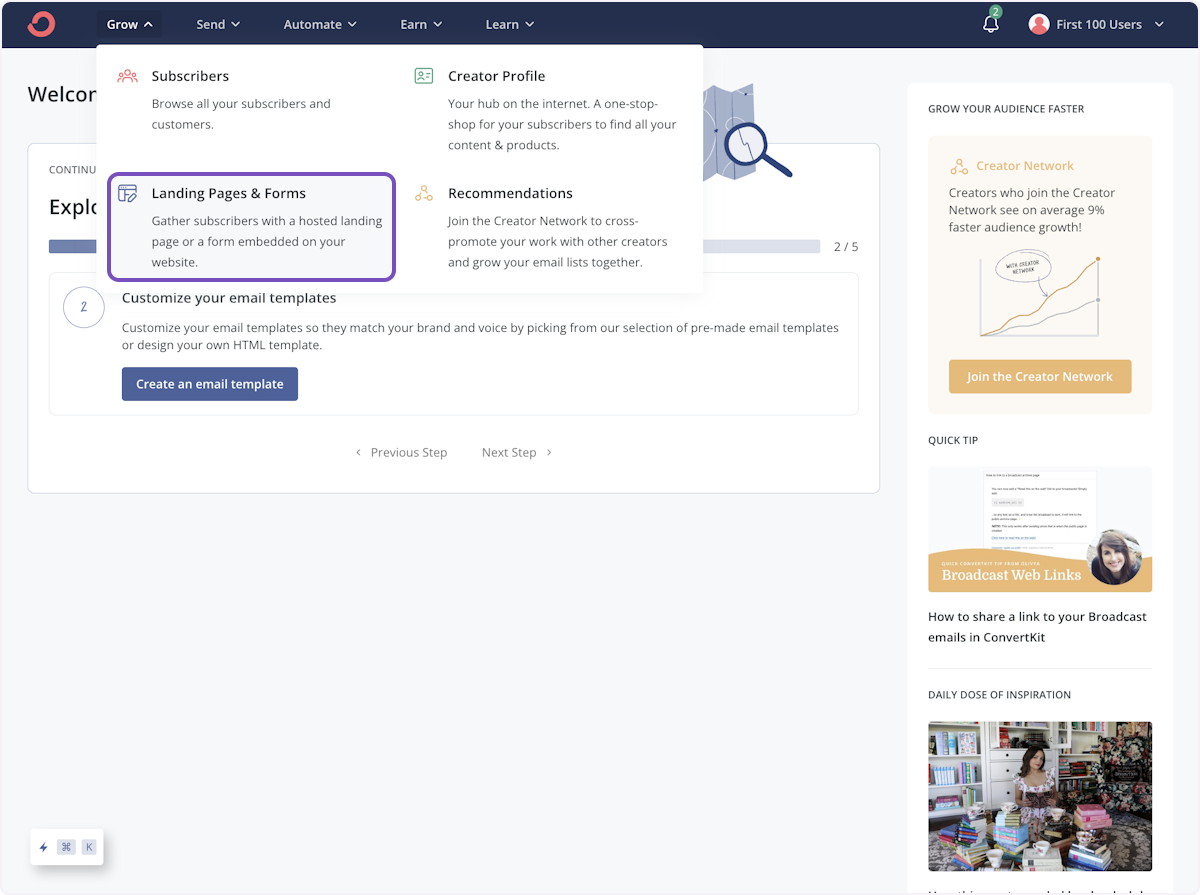
Click on Grow

Choose Landing Page & Forms
Click the landing page you want to add your testimonials to

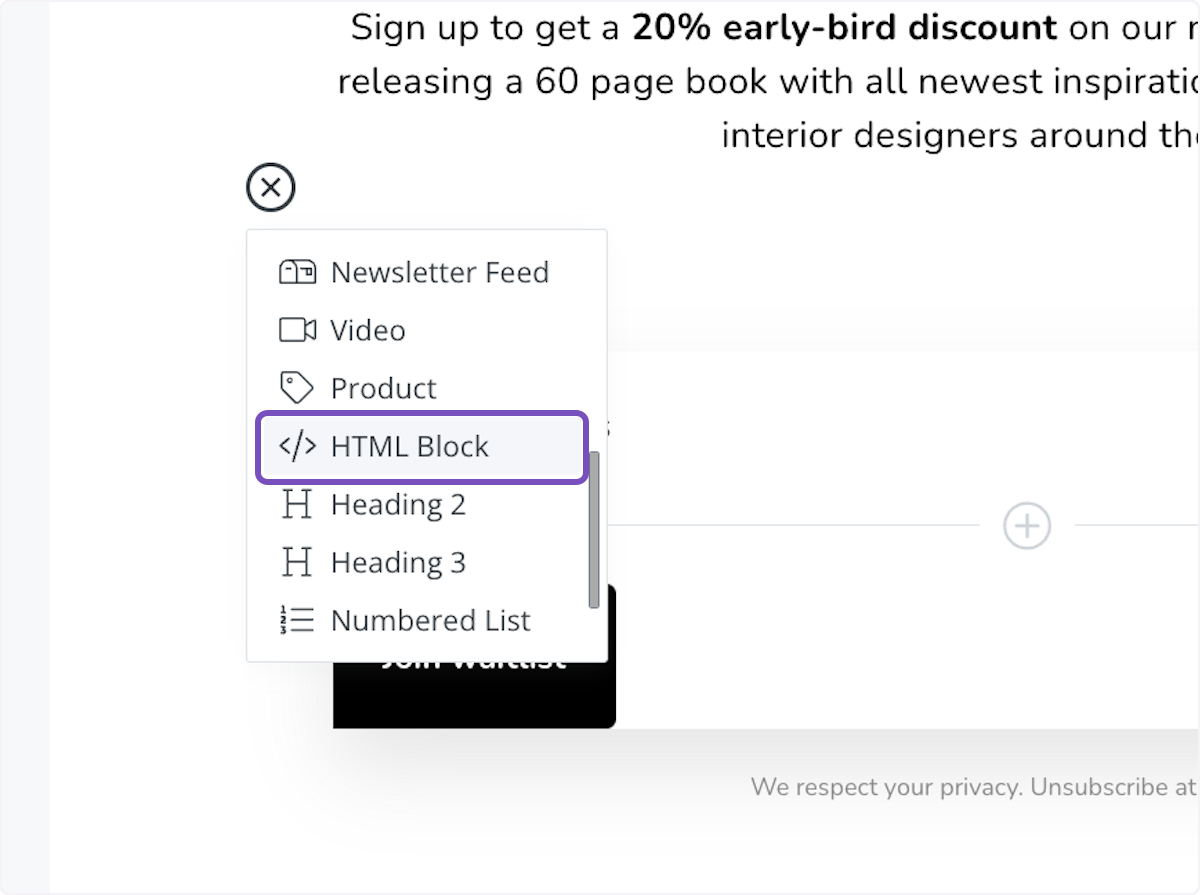
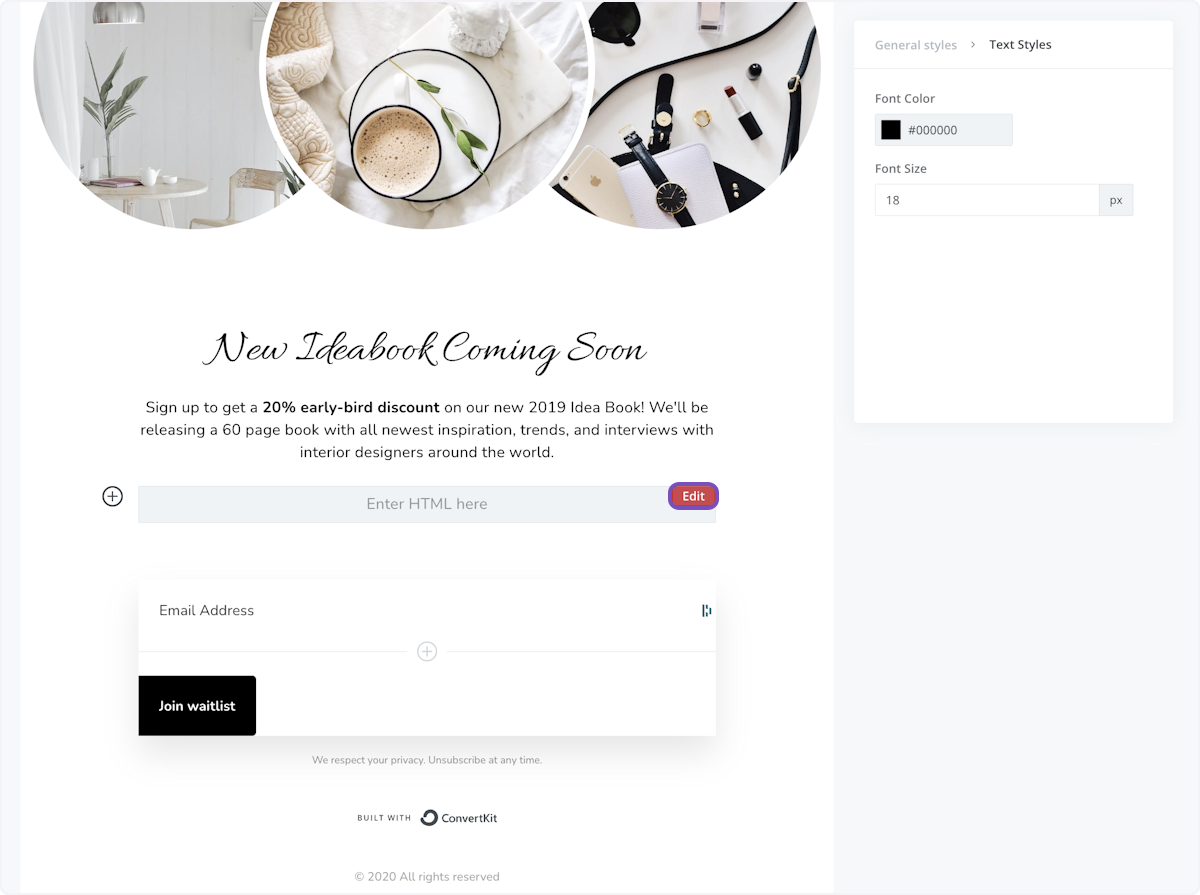
Click on + to open the options

Choose HTML Block
Click Edit
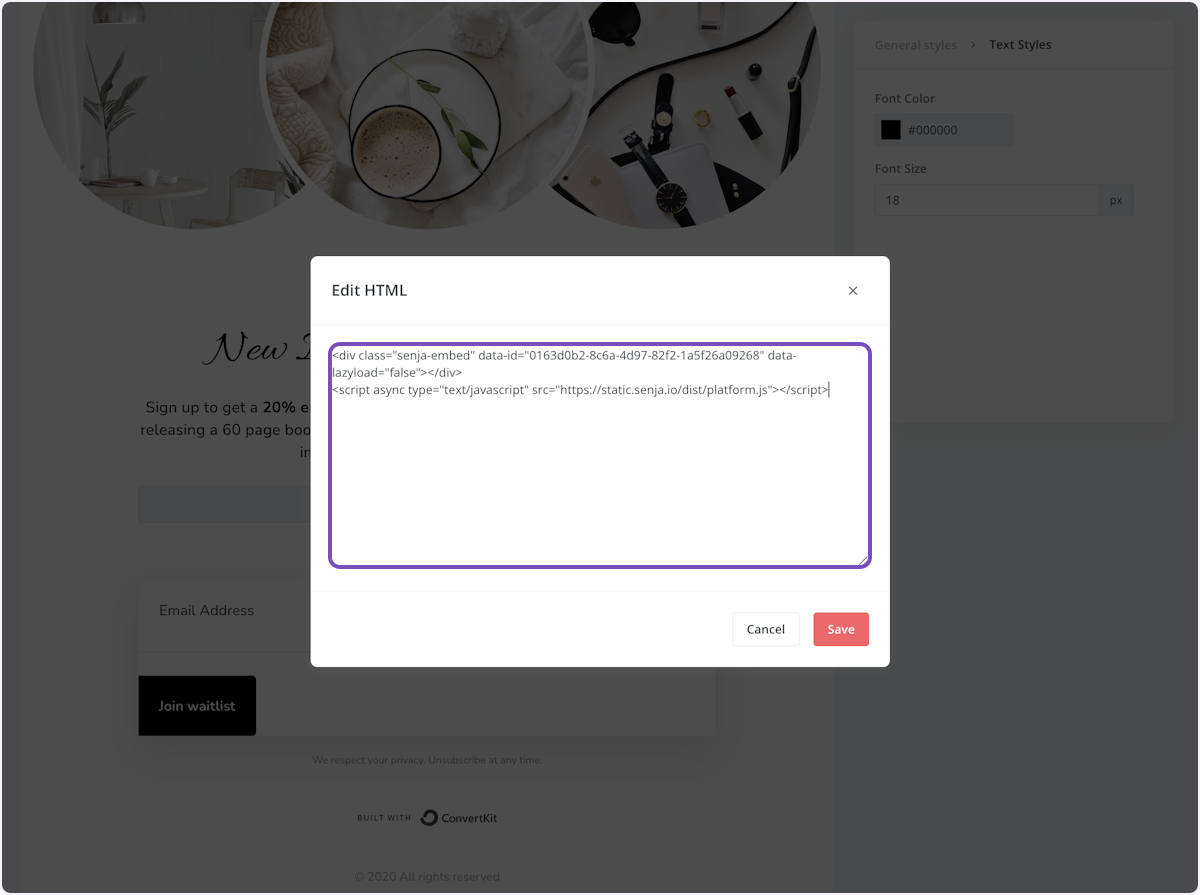
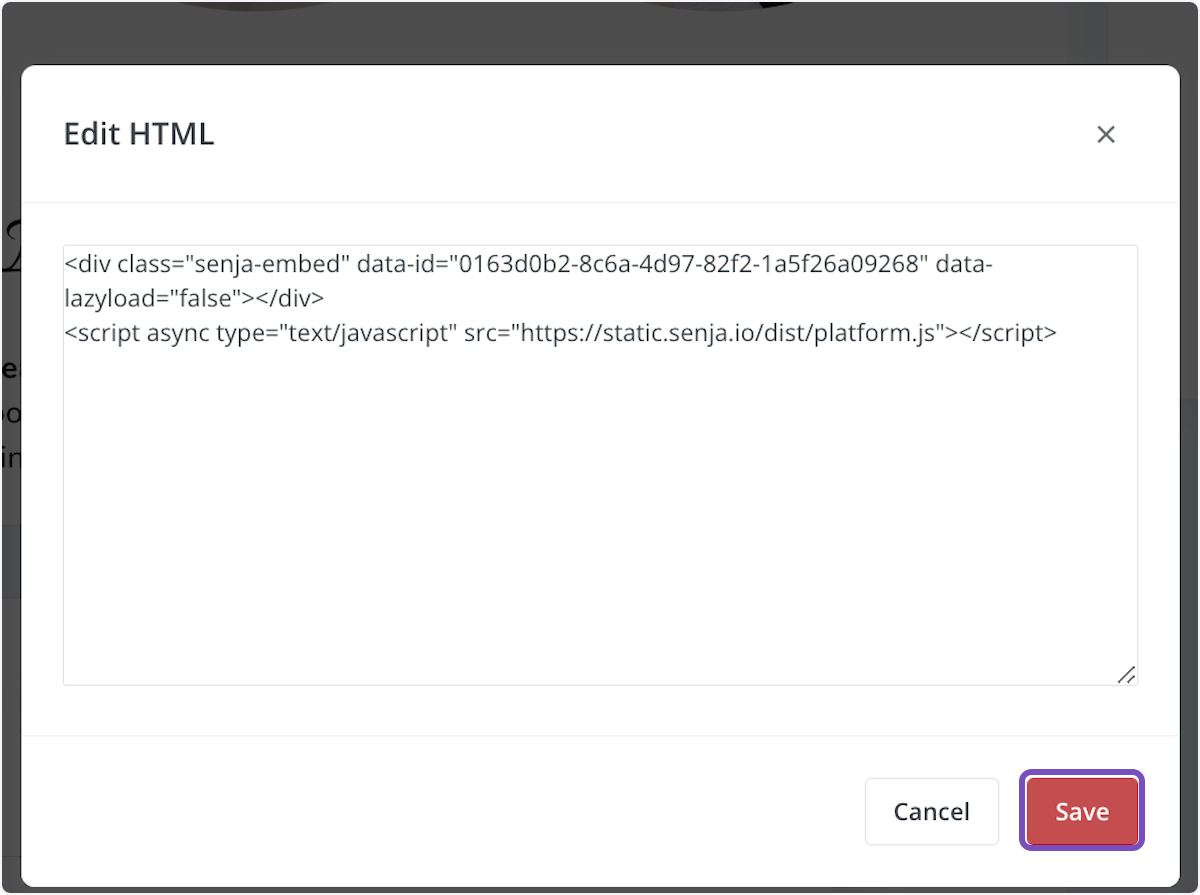
Paste your widget code into the text area
Click Save
Click Publish
Click the copy icon on the popup sidebar
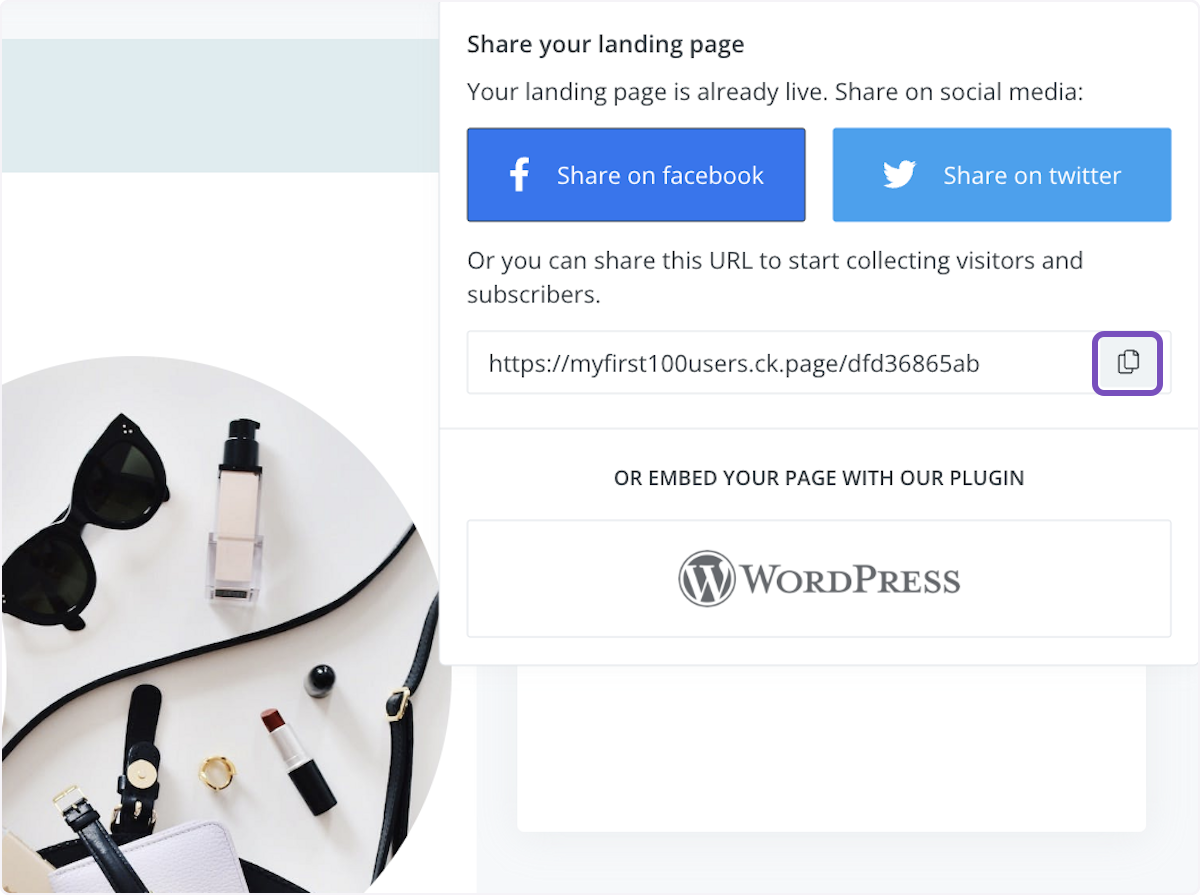
Paste the page link in a new tab to see how it look
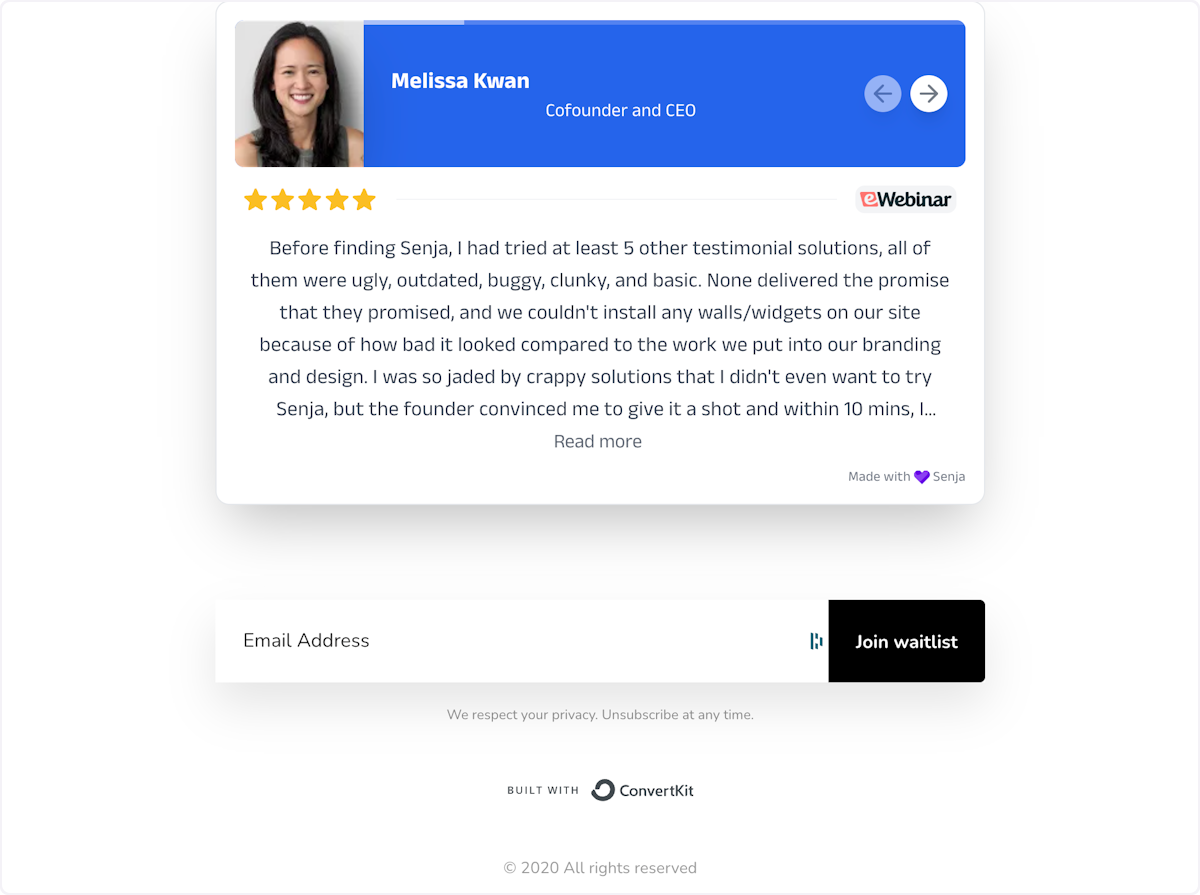
Your widget is live on your ConvertKit landing page!
Your testimonials are now looking amazing in Kit 🥳 Not working? Just contact our Support Team and we’ll help you out.
Was this helpful?